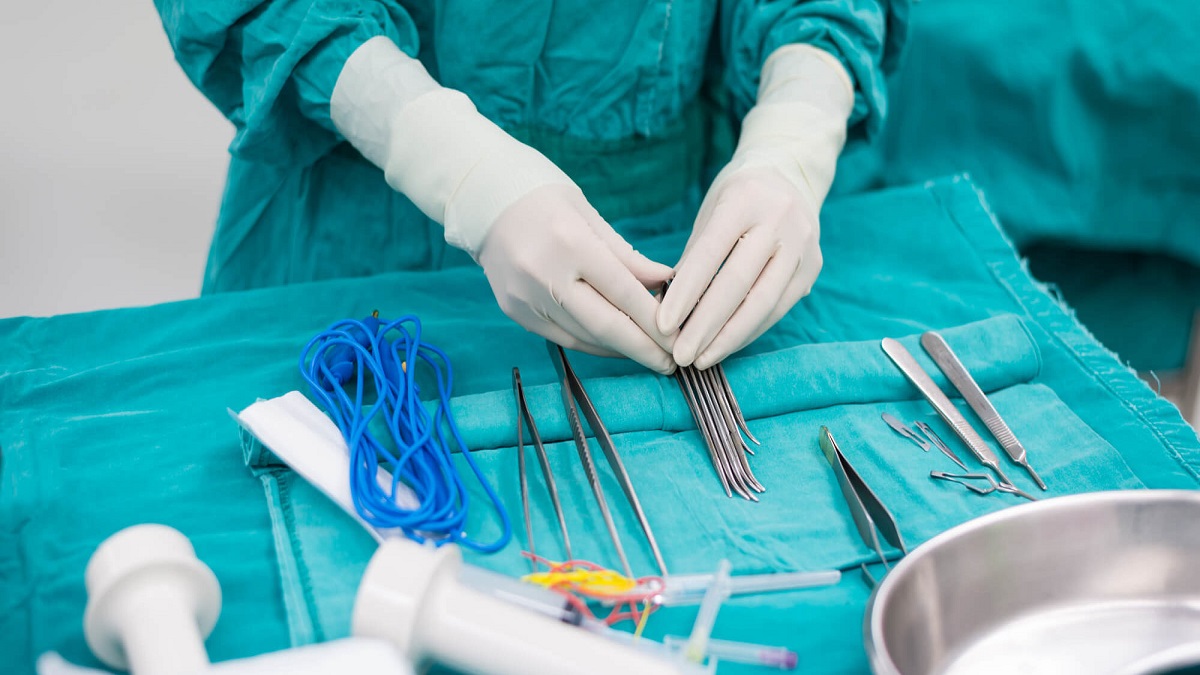
The appropriate care and handling of your costly ENT Instruments will extend their life and improve their performance. Pick a cleaning approach that is appropriate for your environment from the list below.
ENT Instruments Cleaning
Rinse tools under warm or cool running water immediately after use to remove all blood, bodily fluids, and tissue. Dried dirt can cause harm to the ENT Instruments surface and make cleaning extremely difficult. Hot water will cause portentous compounds to coagulate.
Cleaning Using Ultrasonic Energy
The most effective cleaning method is ultrasonic. Cavitation is the cause of ultrasonic cleaning. Vibrating sound waves in solution form micron-sized bubbles that expand with alternating pressure. When the bubbles reach a resonant size, they collapse, creating a force that dislodges dirt and debris from even the smallest gaps. When compared to plain water, the use of ultrasonic detergent considerably boosts the cavitation rate.
- Prepare an enzymatic or other neutral pH or mild alkaline detergent according to the manufacturer’s instructions.
- If available, use deionized water.
- Operate the ultrasonic cleaner for a few minutes to degas the solution and get the proper temperature.
- Put the instruments in the ultrasonic cleaner in the open position. Do not let instruments with sharp blades come into contact with other instruments. All instruments must be completely immersed.
- Do not use the same cleaning cycle for incompatible metals (stainless, copper, chrome plated, etc.).
- Clean the instruments in a cleaner for 5-10 minutes.
- Rinse instruments with water to remove any leftover dirt and ultrasonic cleaning solution.
- Use a clean towel to completely dry the instruments. This reduces the possibility of corrosion and the creation of water stains.
- Spray oil into the hinges to optimize ENT instruments Function.
Automatic Washer for Bacteria:
Follow the manufacturer’s instructions. After the last rinse cycle and before the sterilization cycle, lubricate the tools.
CLEANING BY HAND:
- Make use of hard plastic cleaning brushes. Steel wool and wire brushes should not be used.
- Always use detergents with a neutral pH. Low pH detergents, if not thoroughly washed, might damage the stainless protective surface and cause black stains. High-pH detergents may leave surface deposits of dark stains, which can interfere with the instrument’s smooth operation.
- Brush sensitive instruments gently and, if feasible, separate them from conventional instruments.
- Examine all instrument surfaces for visible cleanliness and the absence of stains and tissue. Examine each instrument for appropriate operation and condition. Scissor blades should glide easily, and they should not be slack when closed. Make sure the forceps tips are appropriately positioned. Hemostats and needle holders should not have visible light between the jaws, should be easy to lock and release, and the joints should not be excessively loose. Examine the needle holder jaws for wear. Check the blades of cutting tools and knives to ensure they are sharp and undamaged.
- Thoroughly rinse the equipment under running water. Open and close scissors, hemostats, needle holders, and other hinged devices while rinsing to ensure that hinge surfaces are also cleaned.
- Use a clean towel to completely dry the instruments. This reduces the possibility of corrosion and the creation of water stains. To improve the instrument’s function, spray lubricant into the hinges.
Soaking:
When conventional cleaning methods are impractical, large, non-delicate ENT Instruments can be soaked in a corrosion-inhibiting detergent. After soaking, it is best to rinse and dry.
- Lubricate all metal-to-metal equipment, such as scissors, hemostats, needle holders, self-retaining retractors, and so on. Lubricants for surgical instruments should be utilized.
- Autoclave instruments separately or in groups. Instruments on their Paper or plastic pouches that are disposable are perfect. For instruments with ratchet locks (such as needle holders and hemostats), use a wide enough pouch (4″ or wider) so that the instrument can be sterilized in an open (unlocked) position. Instrument Sets unlock and disinfect all instruments in an open position. Put heavier instruments on the set’s bottom (when two layers are required).
- Never lock an instrument while it is being autoclaved. This keeps steam from reaching and sterilizing metal-to-metal interfaces. Heat expansion during autoclaving can also induce cracks in hinge locations.
- Avoid overloading the autoclave chamber, as this may also impede steam penetration.
- Put a cloth on the pan’s bottom to absorb any surplus moisture during autoclaving.
- At the end of the autoclave cycle (before the drying cycle), open the autoclave door with only a gap (approximately 3/4″). Perform the dry cycle for the time specified by the autoclave manufacturer. If the autoclave door is fully opened before the drying cycle, chilly room air rushes into the chamber, generating condensation on the instruments. This will generate water stains on the equipment and moist packs.
View your news on Google News or contact our team 


